A step by step guide on how I make my tubs – this one is for transport tubs, but the same steps apply to any tub you want to make, for rats or mice. Click the thumbnail images for a full size view.
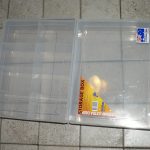
- Select tubs that are translucent for ease of viewing, and with absolutely no ridges or mouldings inside that the mice could chew in transit. I’ve chosen some small tool boxes but these instructions could apply to any size tub.
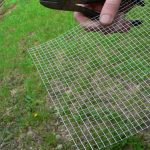
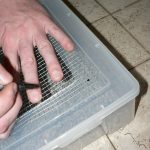
- Lay the wire mesh over the lid and work out how it will fit in a centred position, mark and cut to size.
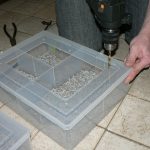
- Using the wire panel as a guide, mark out the area to cut out on your lid. Drill holes inside the corners so that when you cut the hole out, the corners don’t crack.
- Using a rotary cutting tool like a Dremel, cut out the holes in the lids.
- Hold the wire panel in place and mark in the centre of each square one-in from the corner – this is where your bolts will attach the wire to the lid. Depending on the size of your tub, you may need to add bolt holes along the sides as well.
- Drill out the holes carefully – applying too much pressure can crack the lid!
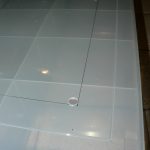
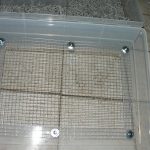
- Push through the bolt from the outside, and on the inside, add a washer, and nut.
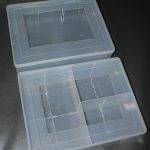
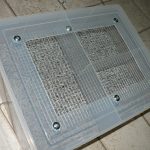
- The completed tub!
